Framed Chinoiserie Panels: Get The Look!

At Home With Ashley
Have you ever wanted framed chinoiserie wall panels but couldn't find a frame to fit? Well, here’s a fabulous way to create your own DIY frames!
Earlier this year I gifted some of my canvas Faraway Land Wall Panels to the wonderful At Home With Ashley, and she went on to DIY these beautiful gold bamboo-inspired frames from scratch and I just had to share her tutorial with you!

Ashley with her DIY framed Faraway Land Panels
What You’ll Need
You will need a couple of tools for this project such as wallpaper paste, MDF or plywood boards, moulding, wood filler, gold spray paint, and of course, your chinoiserie wall print panels (please note this project is for canvas prints only).
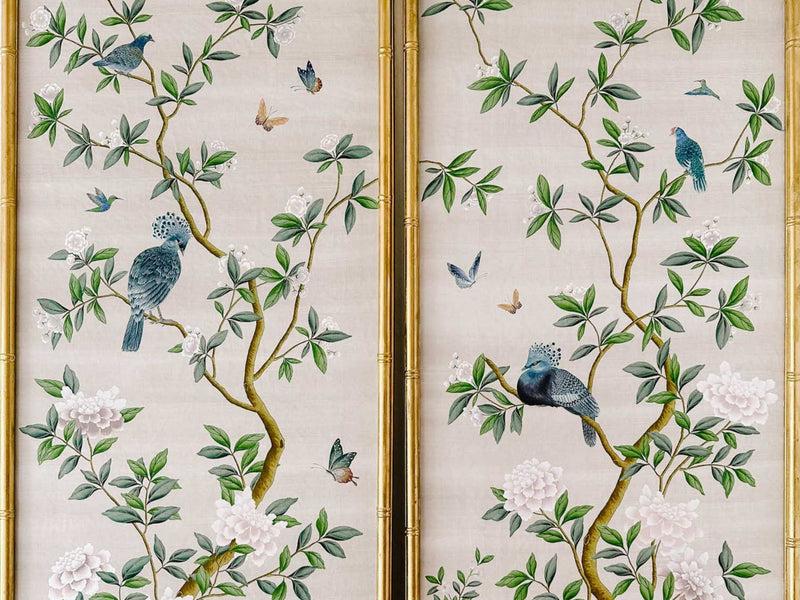
'Pearly Gates' chinoiserie panel set of two
The Making Of
Begin by cutting your boards and moulding down to the correct size of your chinoiserie panel ensuring you leave a little space around the outside so that none of the chinoiserie print is covered by the frame.
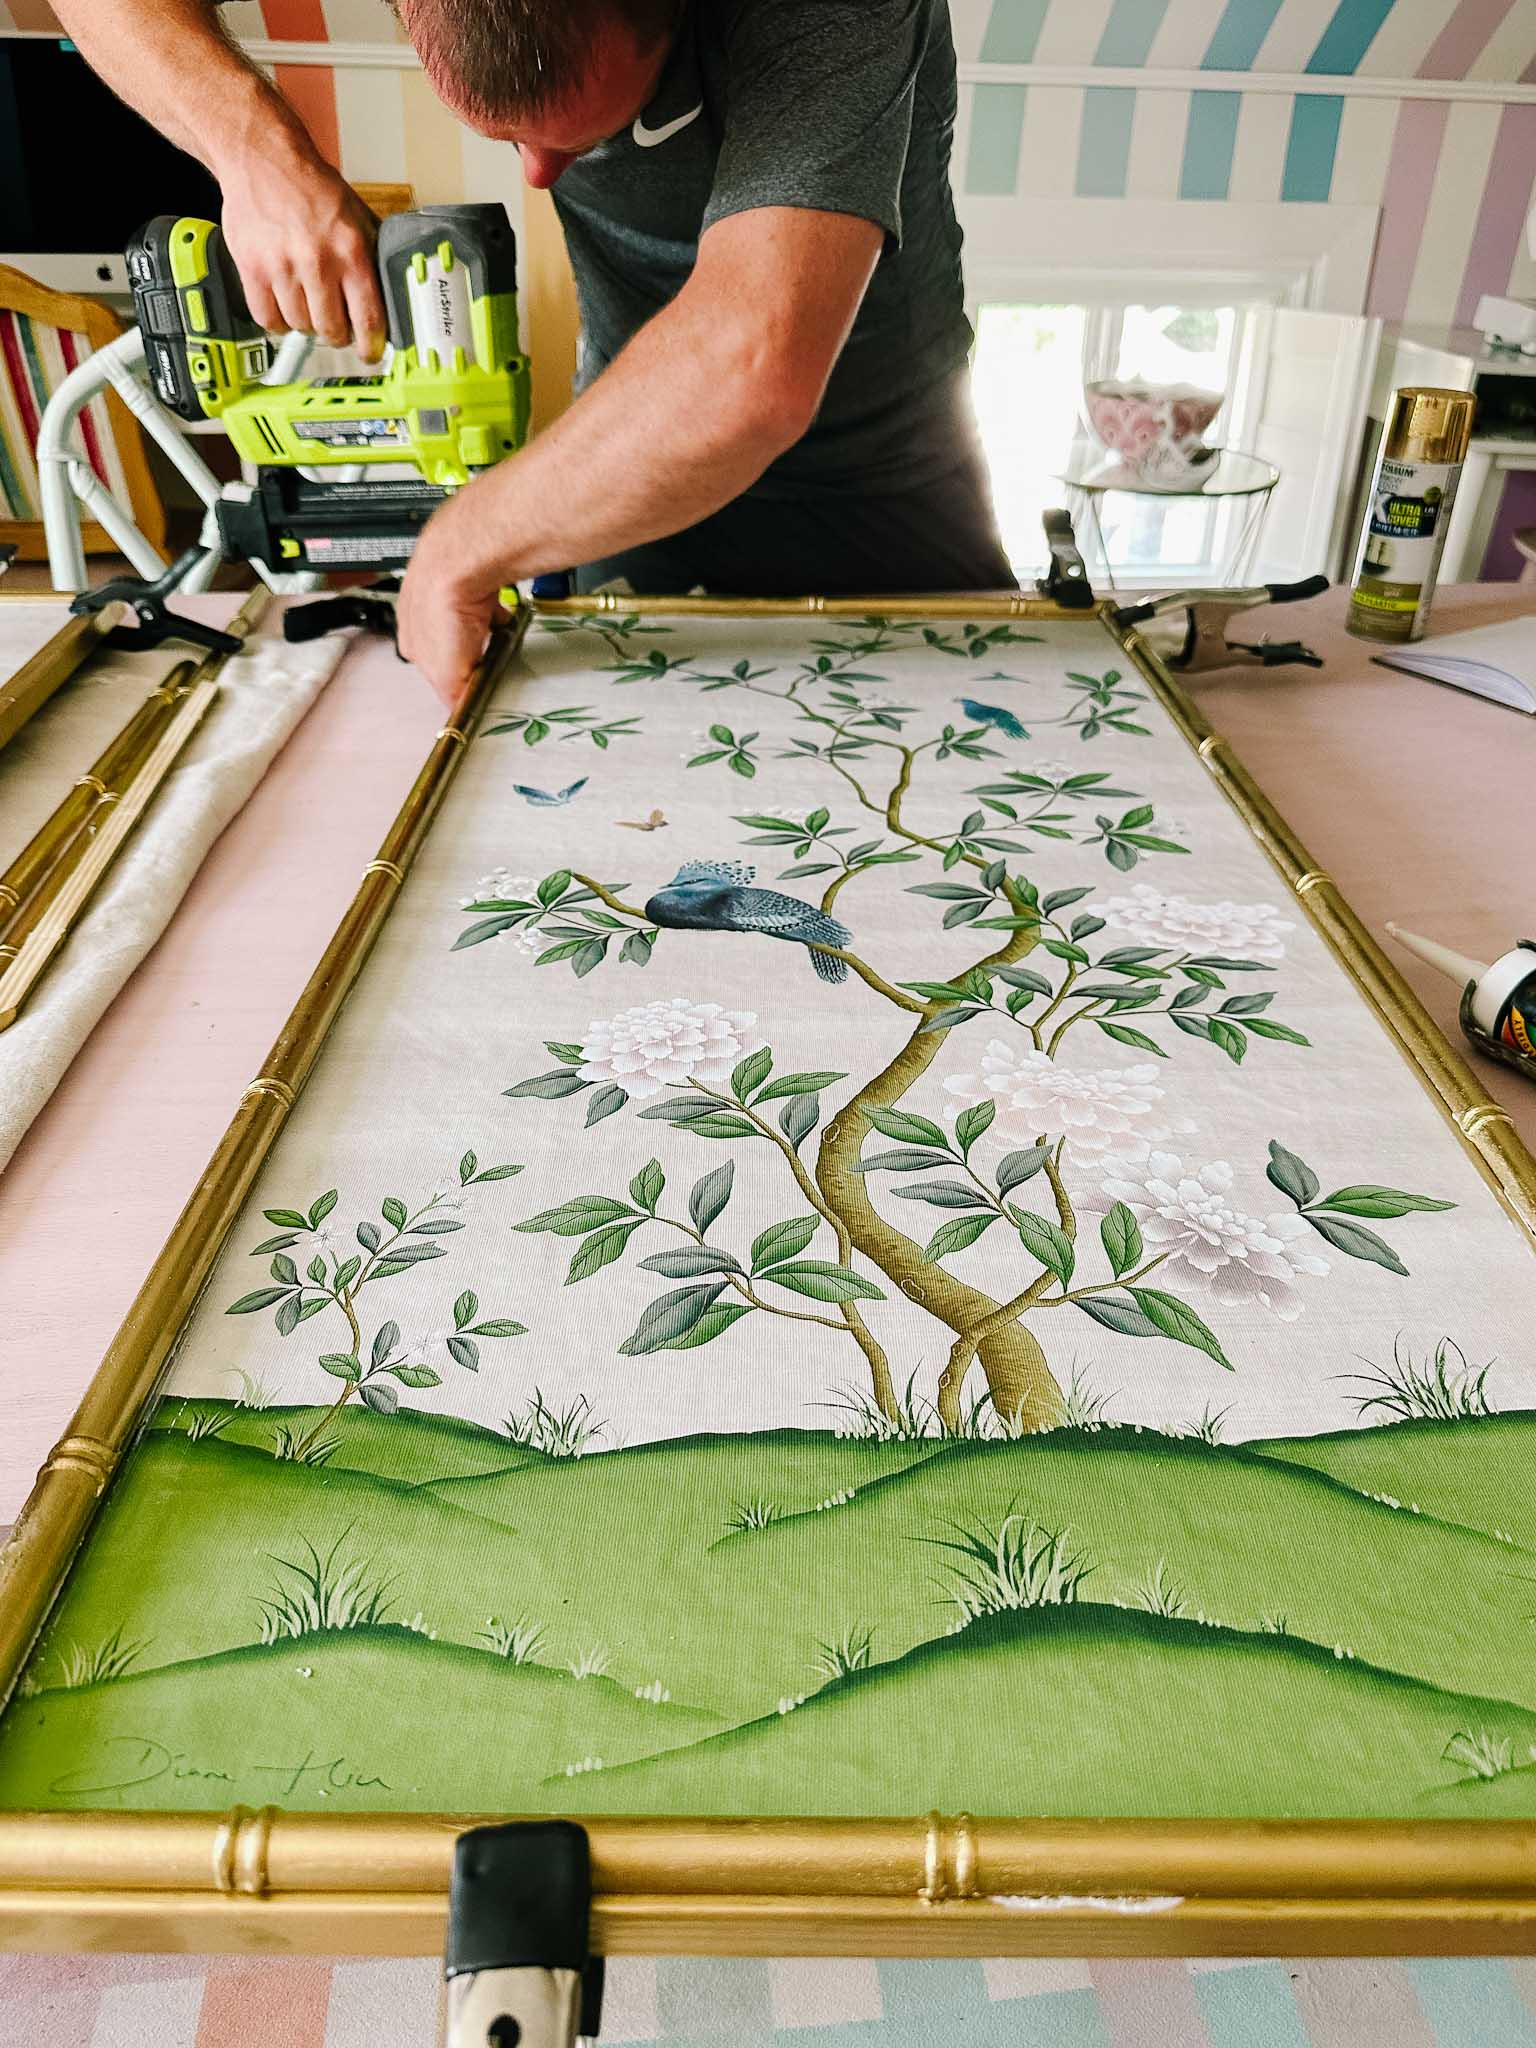
Once these boards are prepped it’s time to mount the panels and add the wall fixtures! You can mount the chinoiserie print panels using some wallpaper paste and paintbrush, don’t worry if any gets onto the print - you can simply wipe it away with a damp cloth.
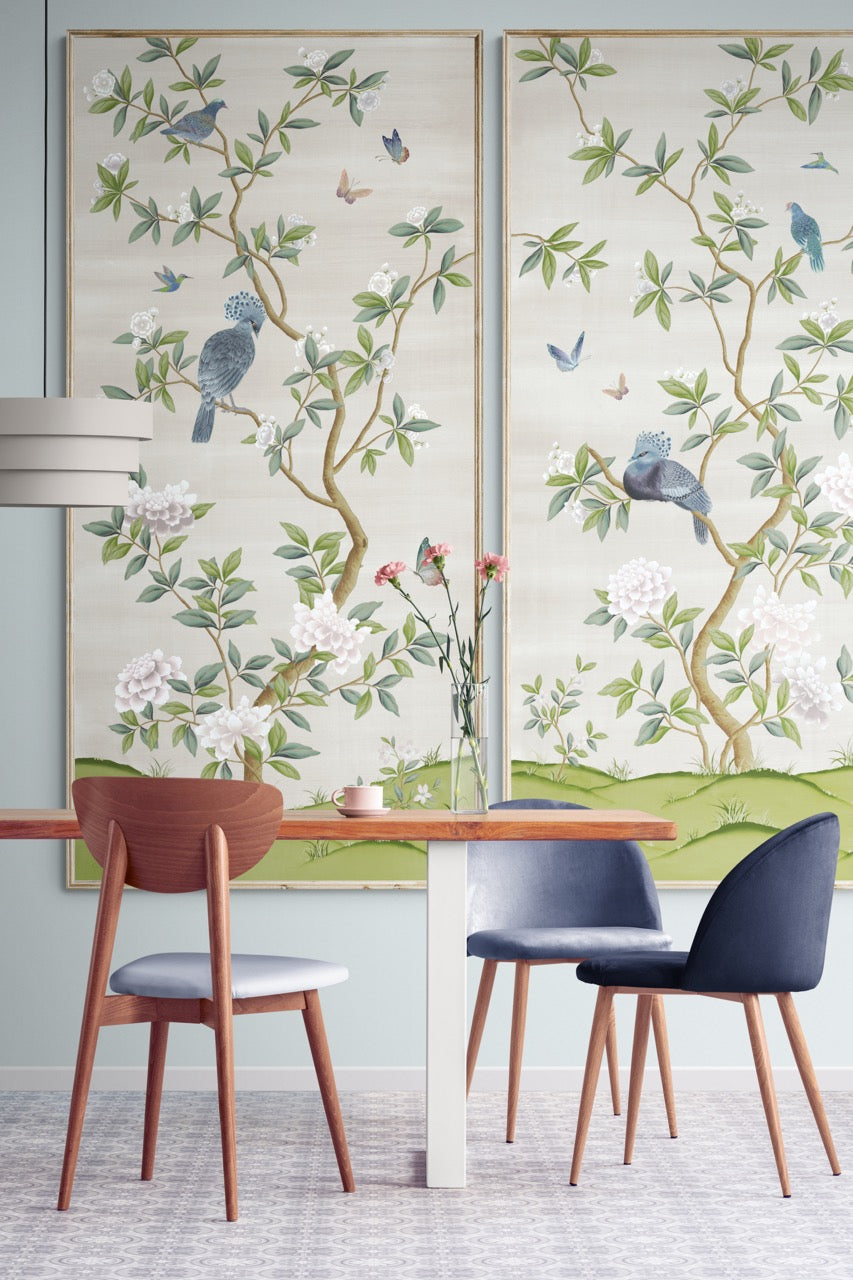
'Pearly Gates' chinoiserie panel in Ashley's gold bamboo frame
Whilst the boards are drying off, it’s the perfect time to make the bamboo trim! You can use a small card, similar to a credit card, to guide the drill or scissors and create two circular indents which can then be filled with wood filler to get a bamboo-like effect.
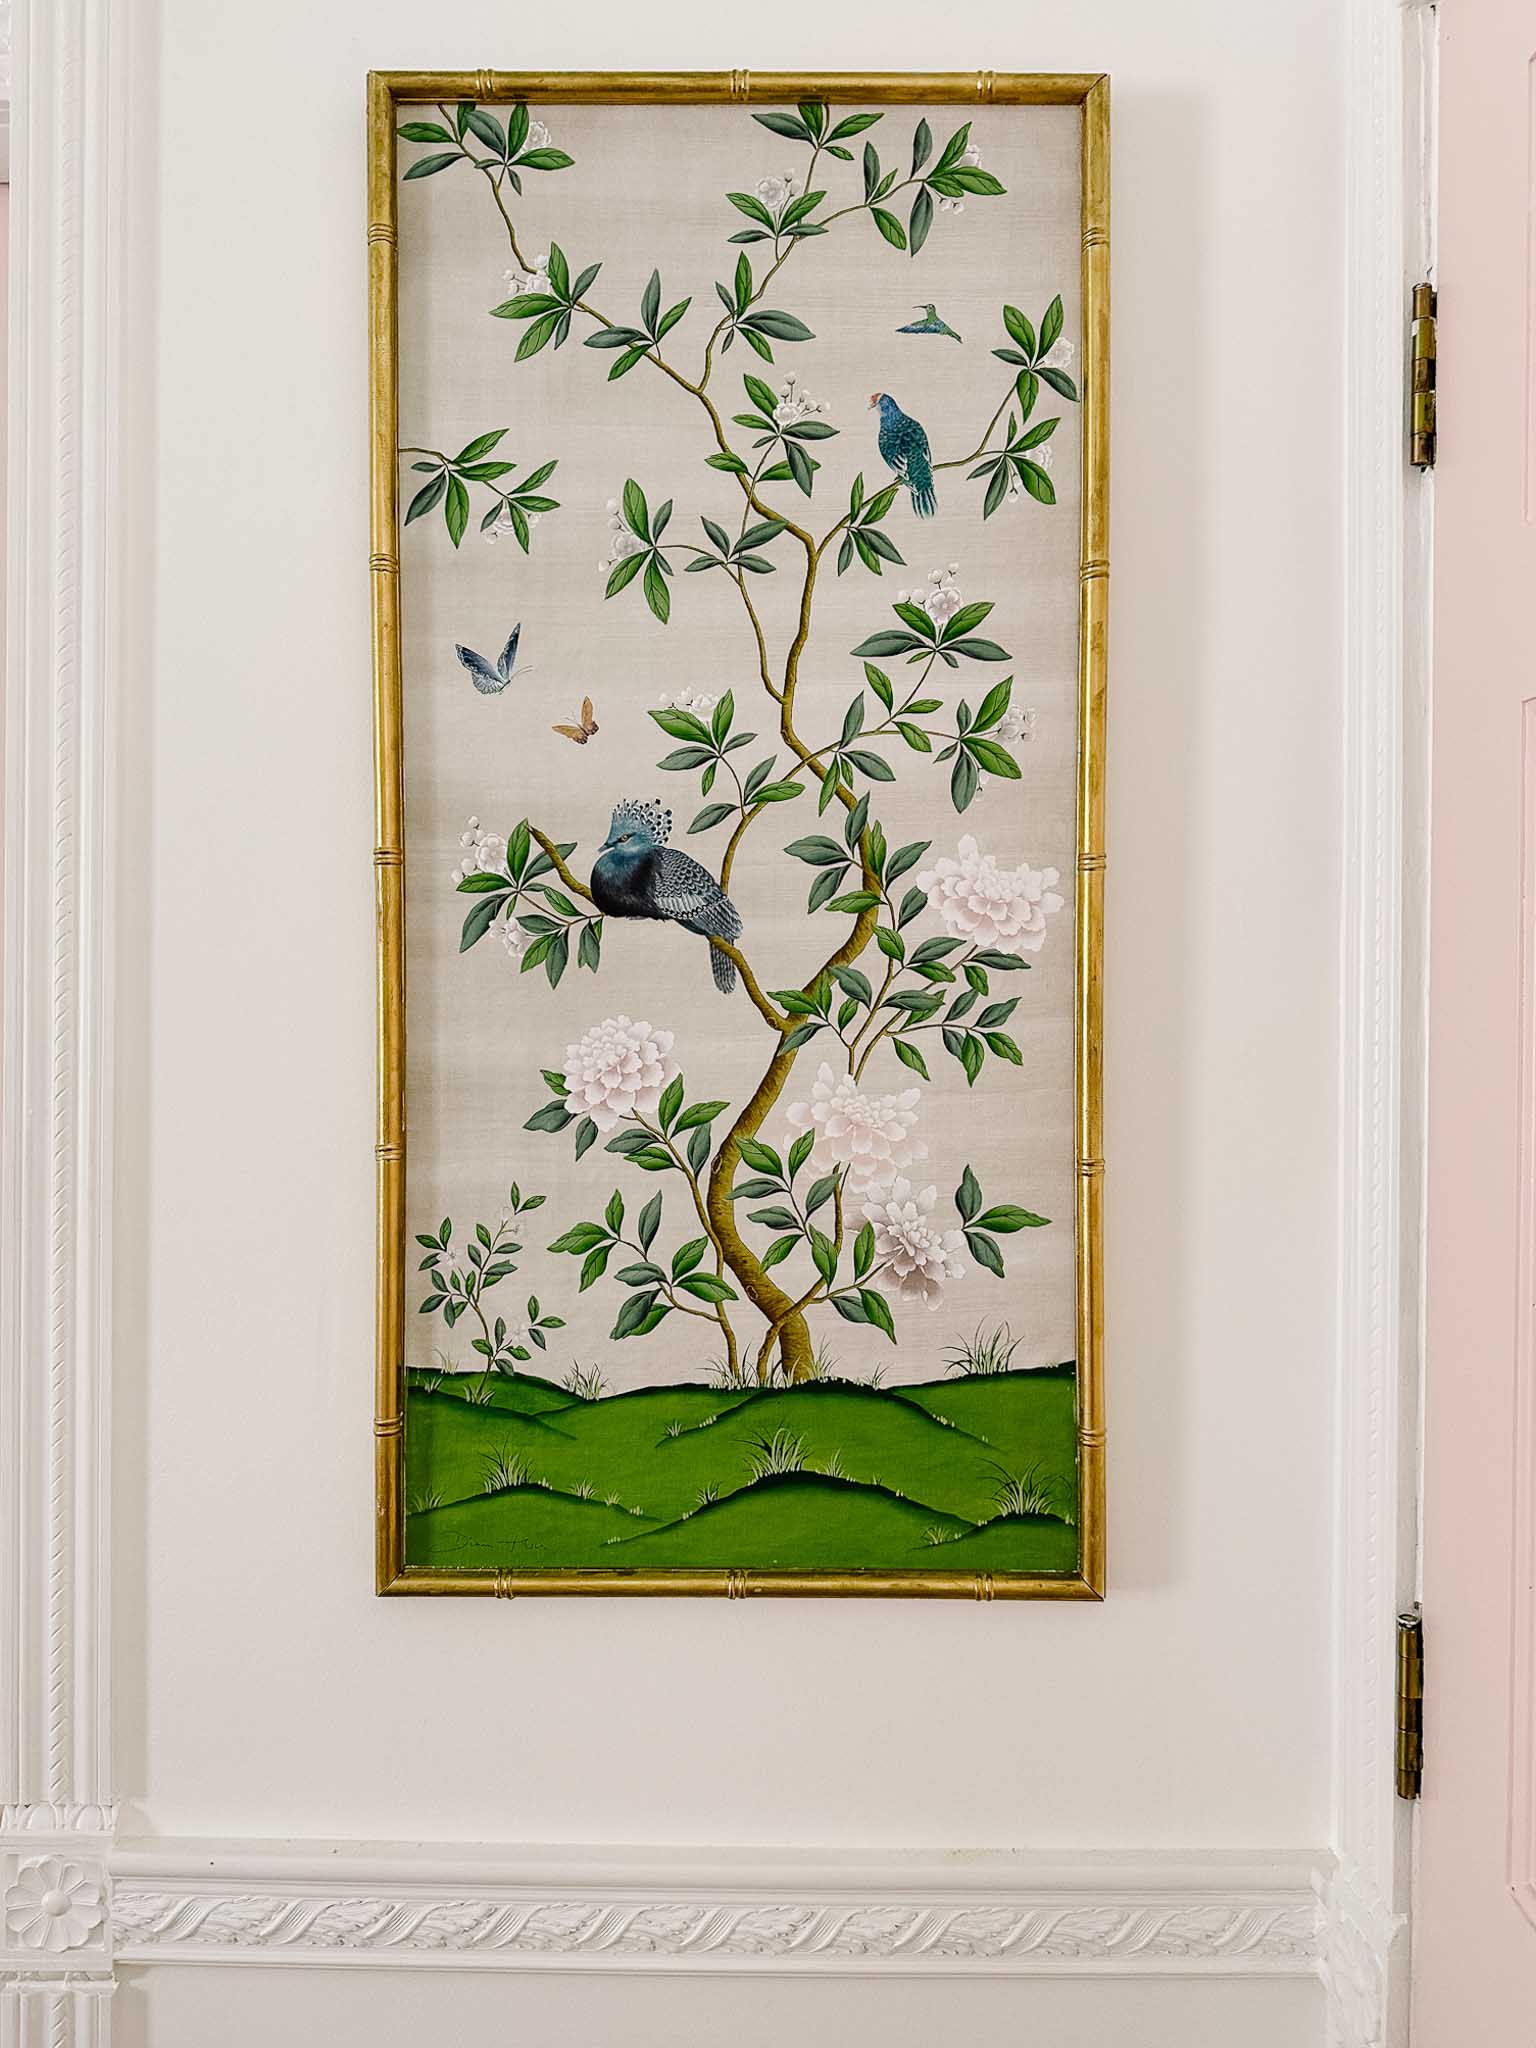
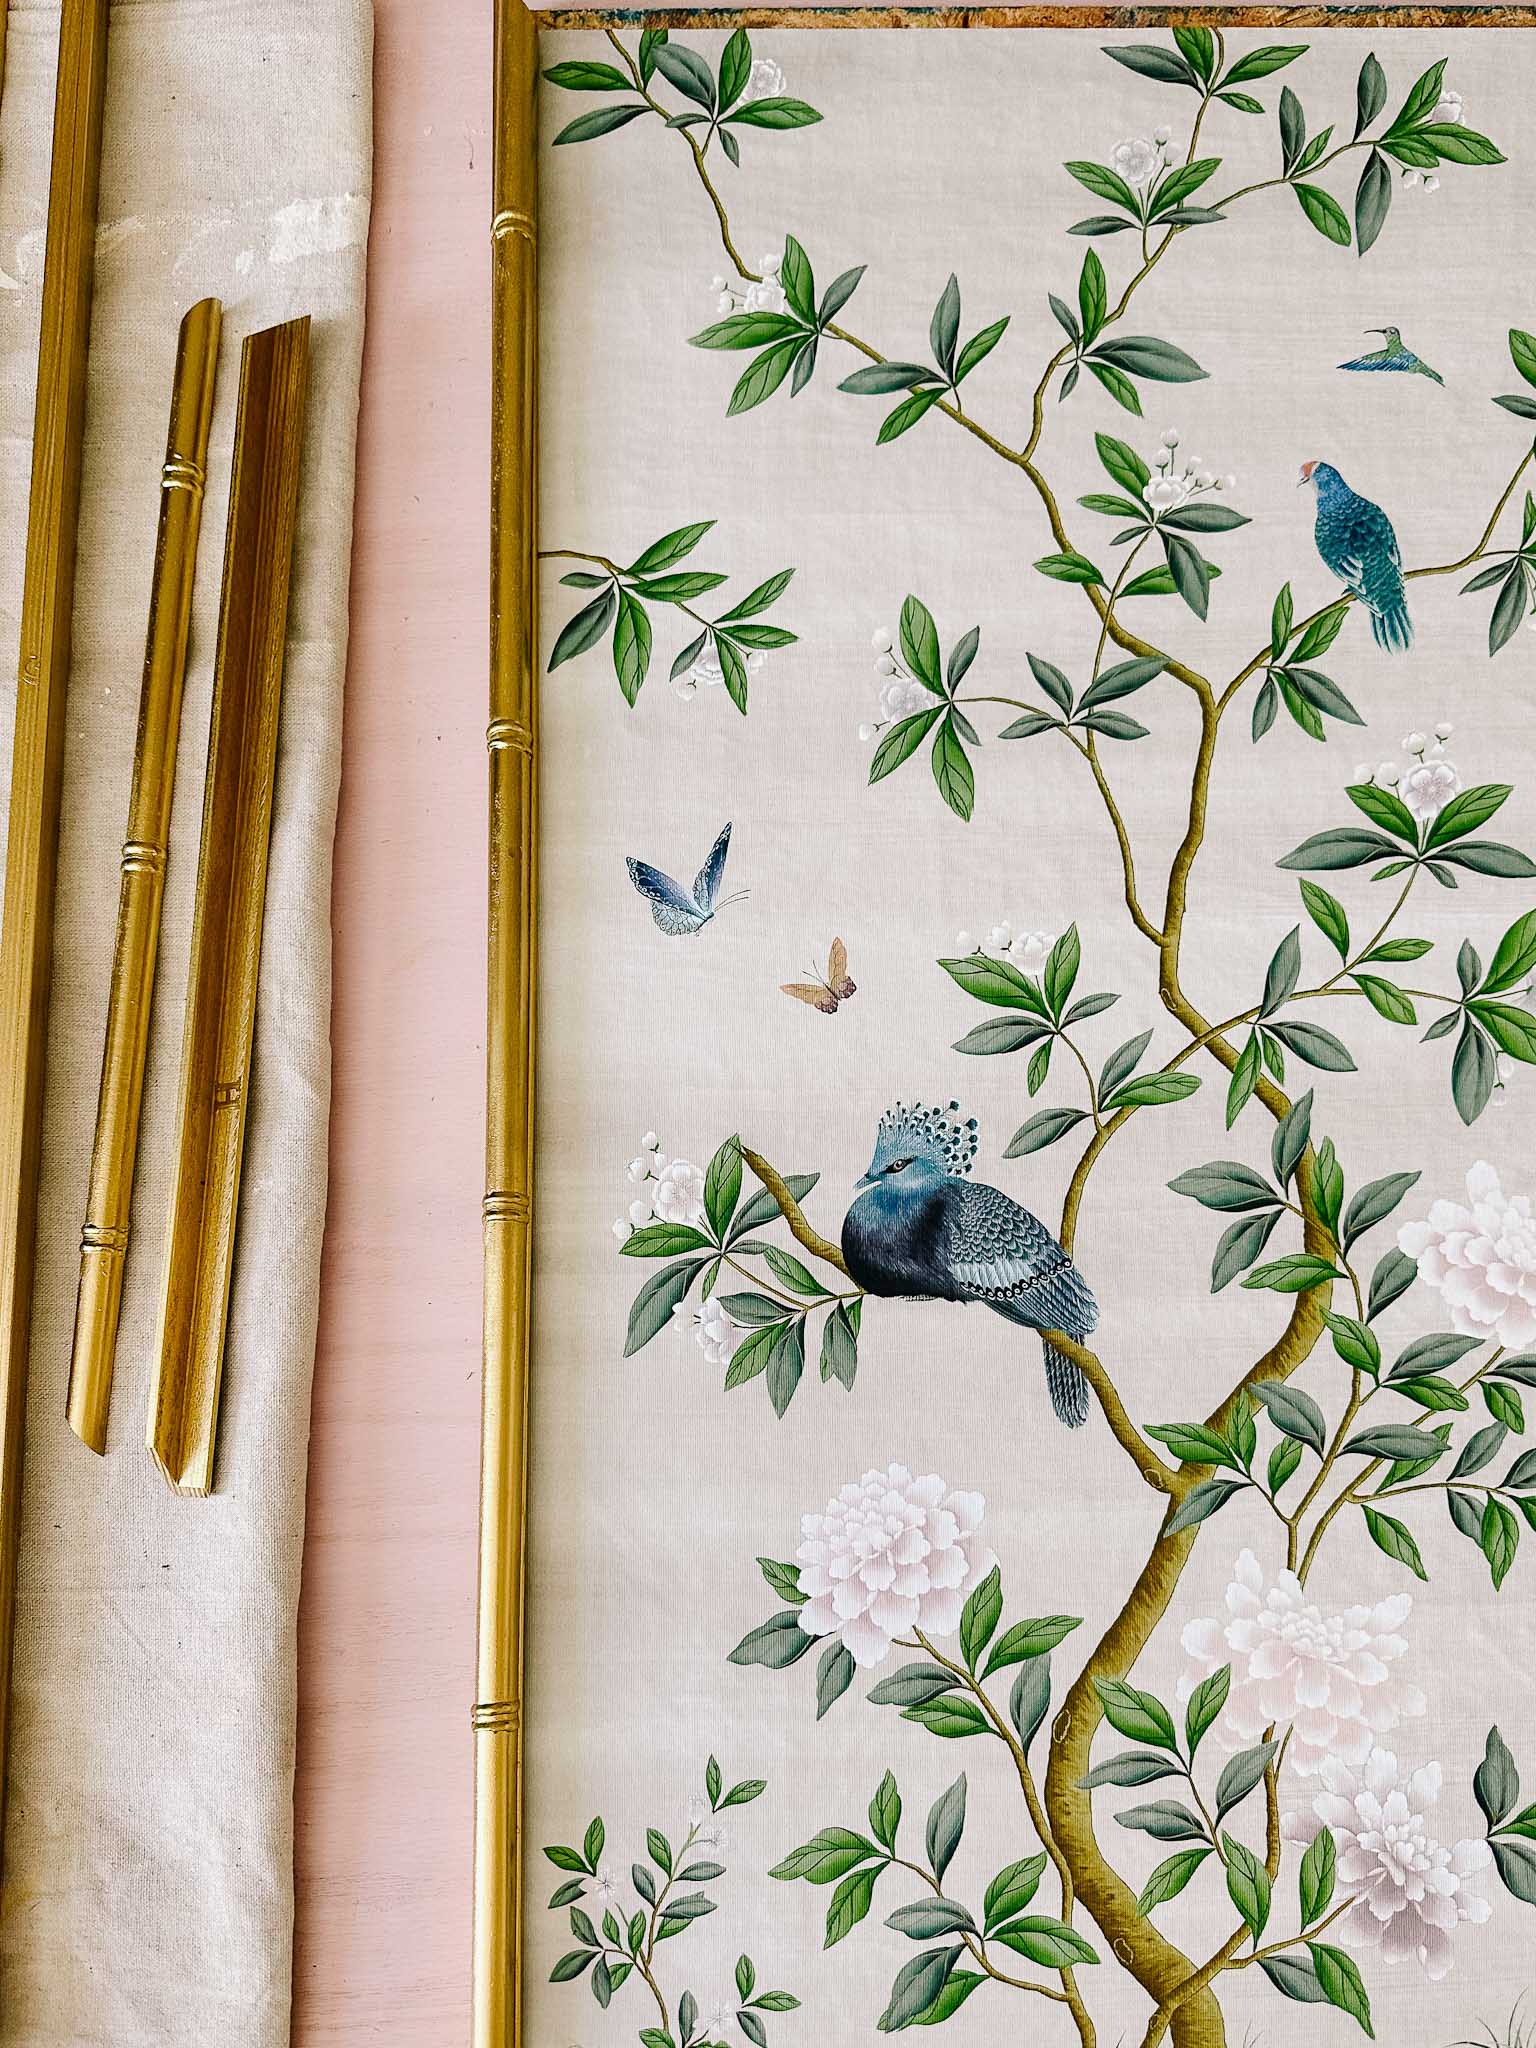
'Pearly Gates' wall panel in Ashley's finished bamboo frame
Once the trim is dry, it can then be sanded down so everything is smooth and ready to paint! Use your gold spray paint to coat the trim using thin layers (don’t worry if it’s not perfect, you can use the spray paint and a paintbrush to touch up any details). Let your trim dry off and then it’s time to glue it to your boards and hang them up!

Details on Ashley's DIY bamboo frame
Make It Personal
This is the perfect way to really add that personal touch to your prints and home by customizing it with your favorite colors and frame styles.
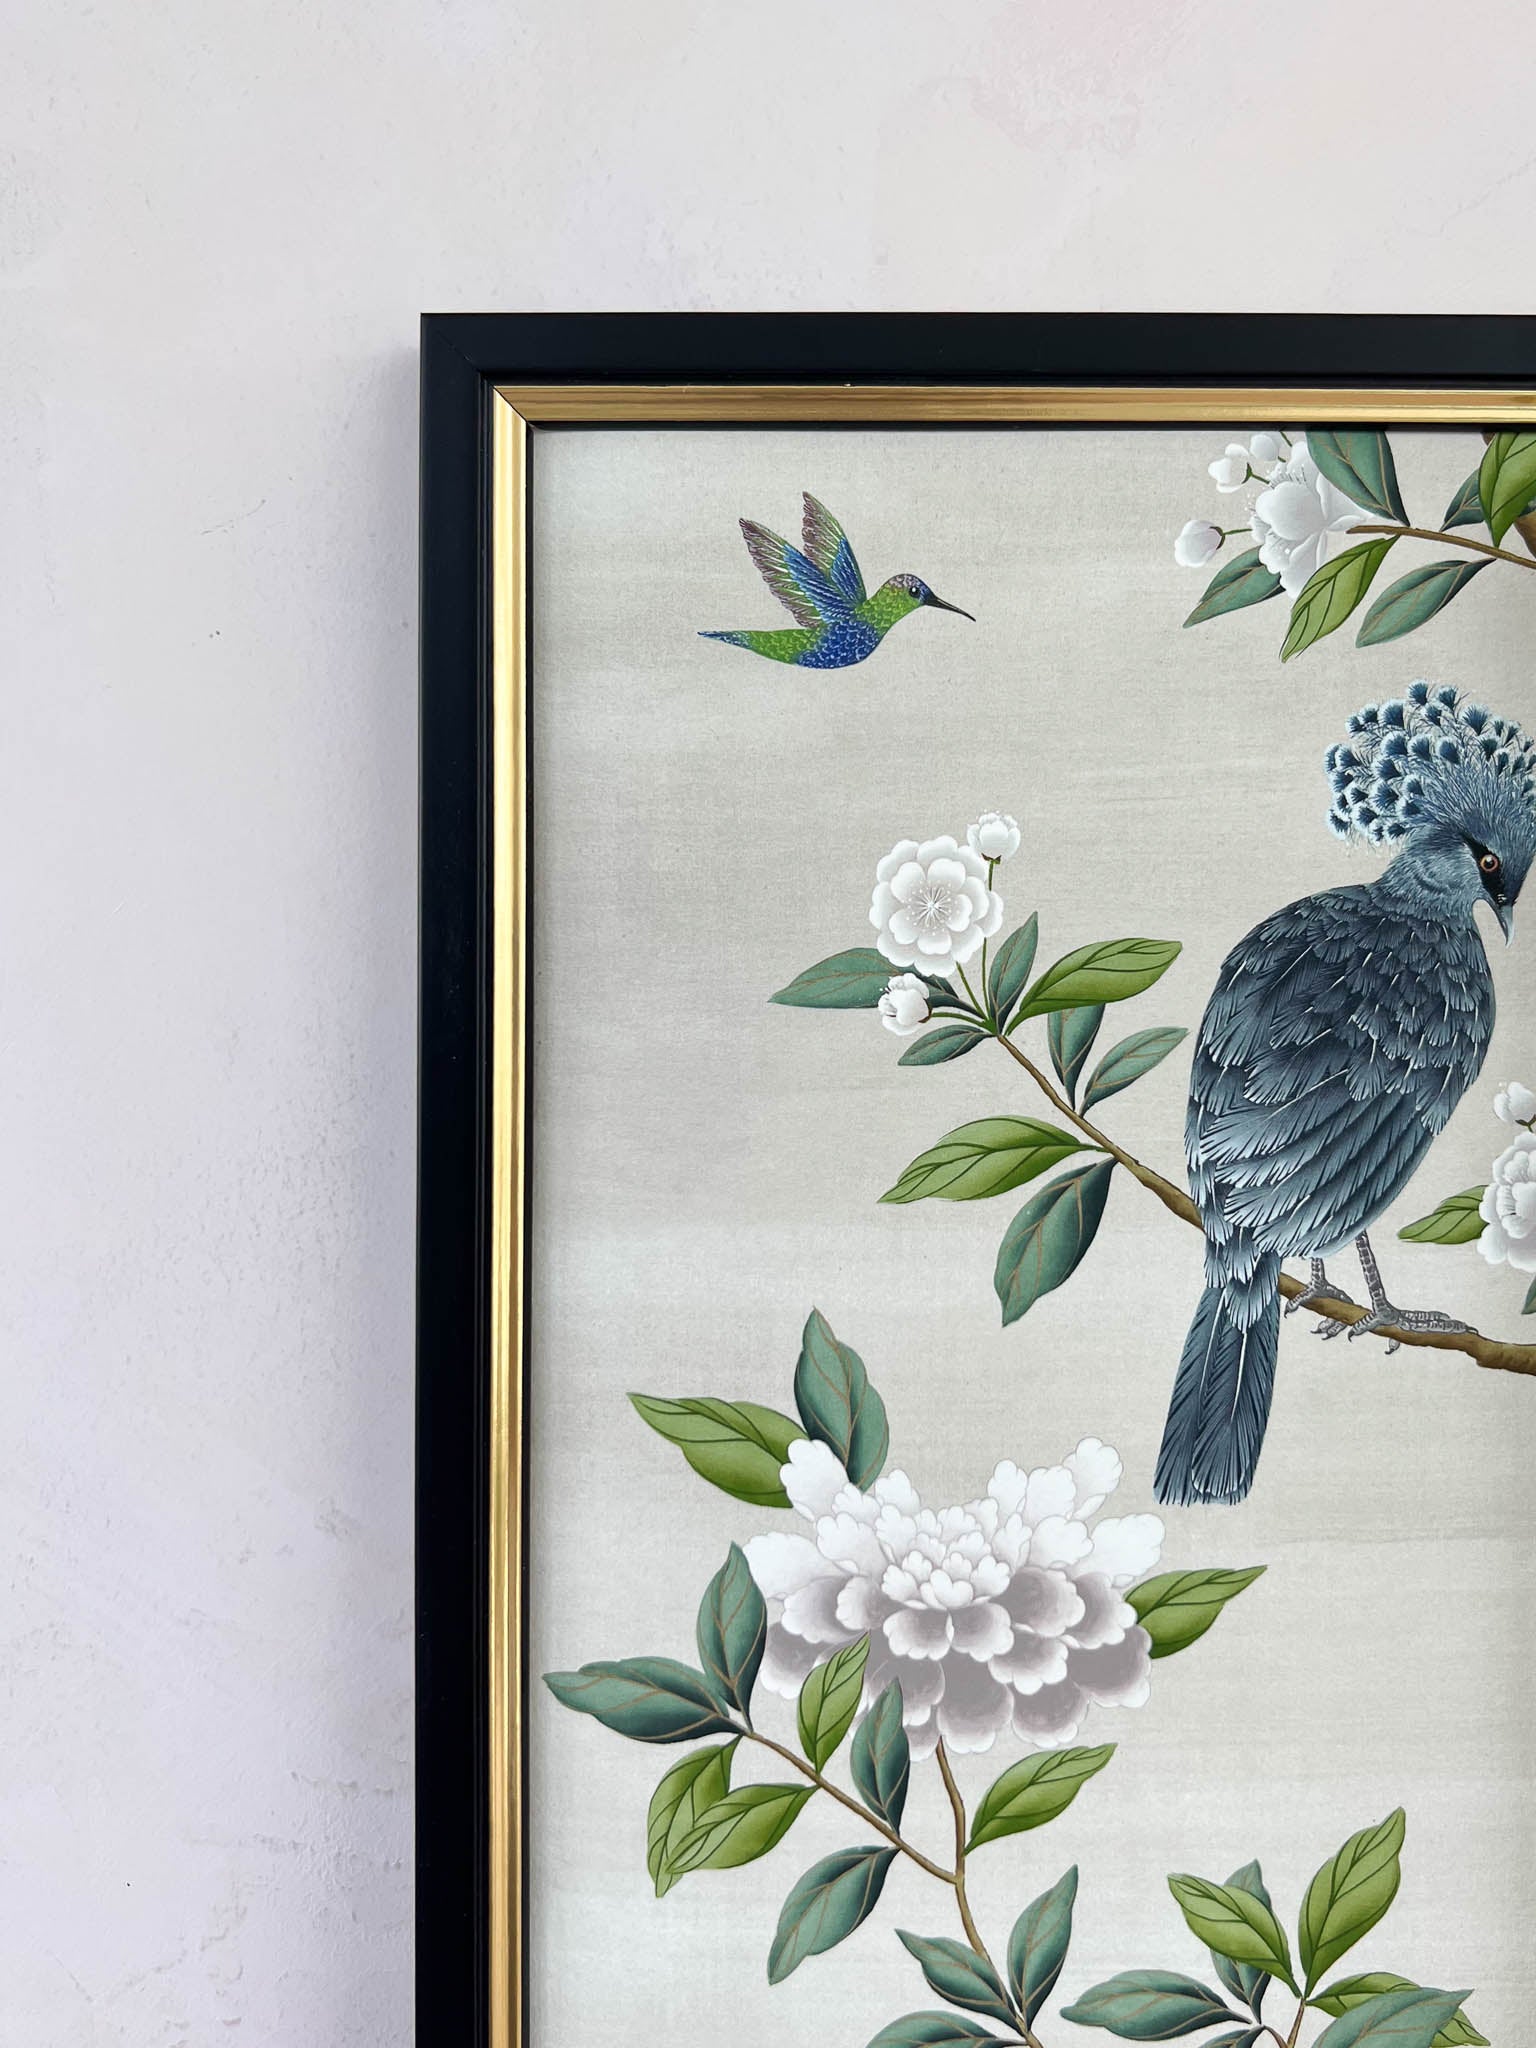
Black frame example on the 'Pearly Gates' wall panel print
You can read Ashley’s full blog here and you can find out more about getting the chinoiserie wallpaper look with panels and prints here.
I hope you love this beautiful, creative solution for framing chinoiserie panels as much as I did, and I’d love to see the results if you try this project out!
Don’t forget to sign up to stay up to date with amazing tips like this and all of the other wonderful news and offers I have to share.
Shop The Faraway Land Collection Here!
